How to successfully achieve that “light and airy” aesthetic
My approach to photography has always been inspired by simplicity and minimalism. In every session, I set out to create an environment that maximizes natural light to give you clean, airy looking photos that are refreshing to the eyes. Interestingly enough, when I first started my career, I gravitated more towards darker, moodier images. It has only been in the last year that I have completely fallen in love with this bright, light and airy aesthetic.
I’m always getting asked how I achieve this look, so I’ve created a guide to help you bring the beauty of natural light into your photos.

Choose the right setting
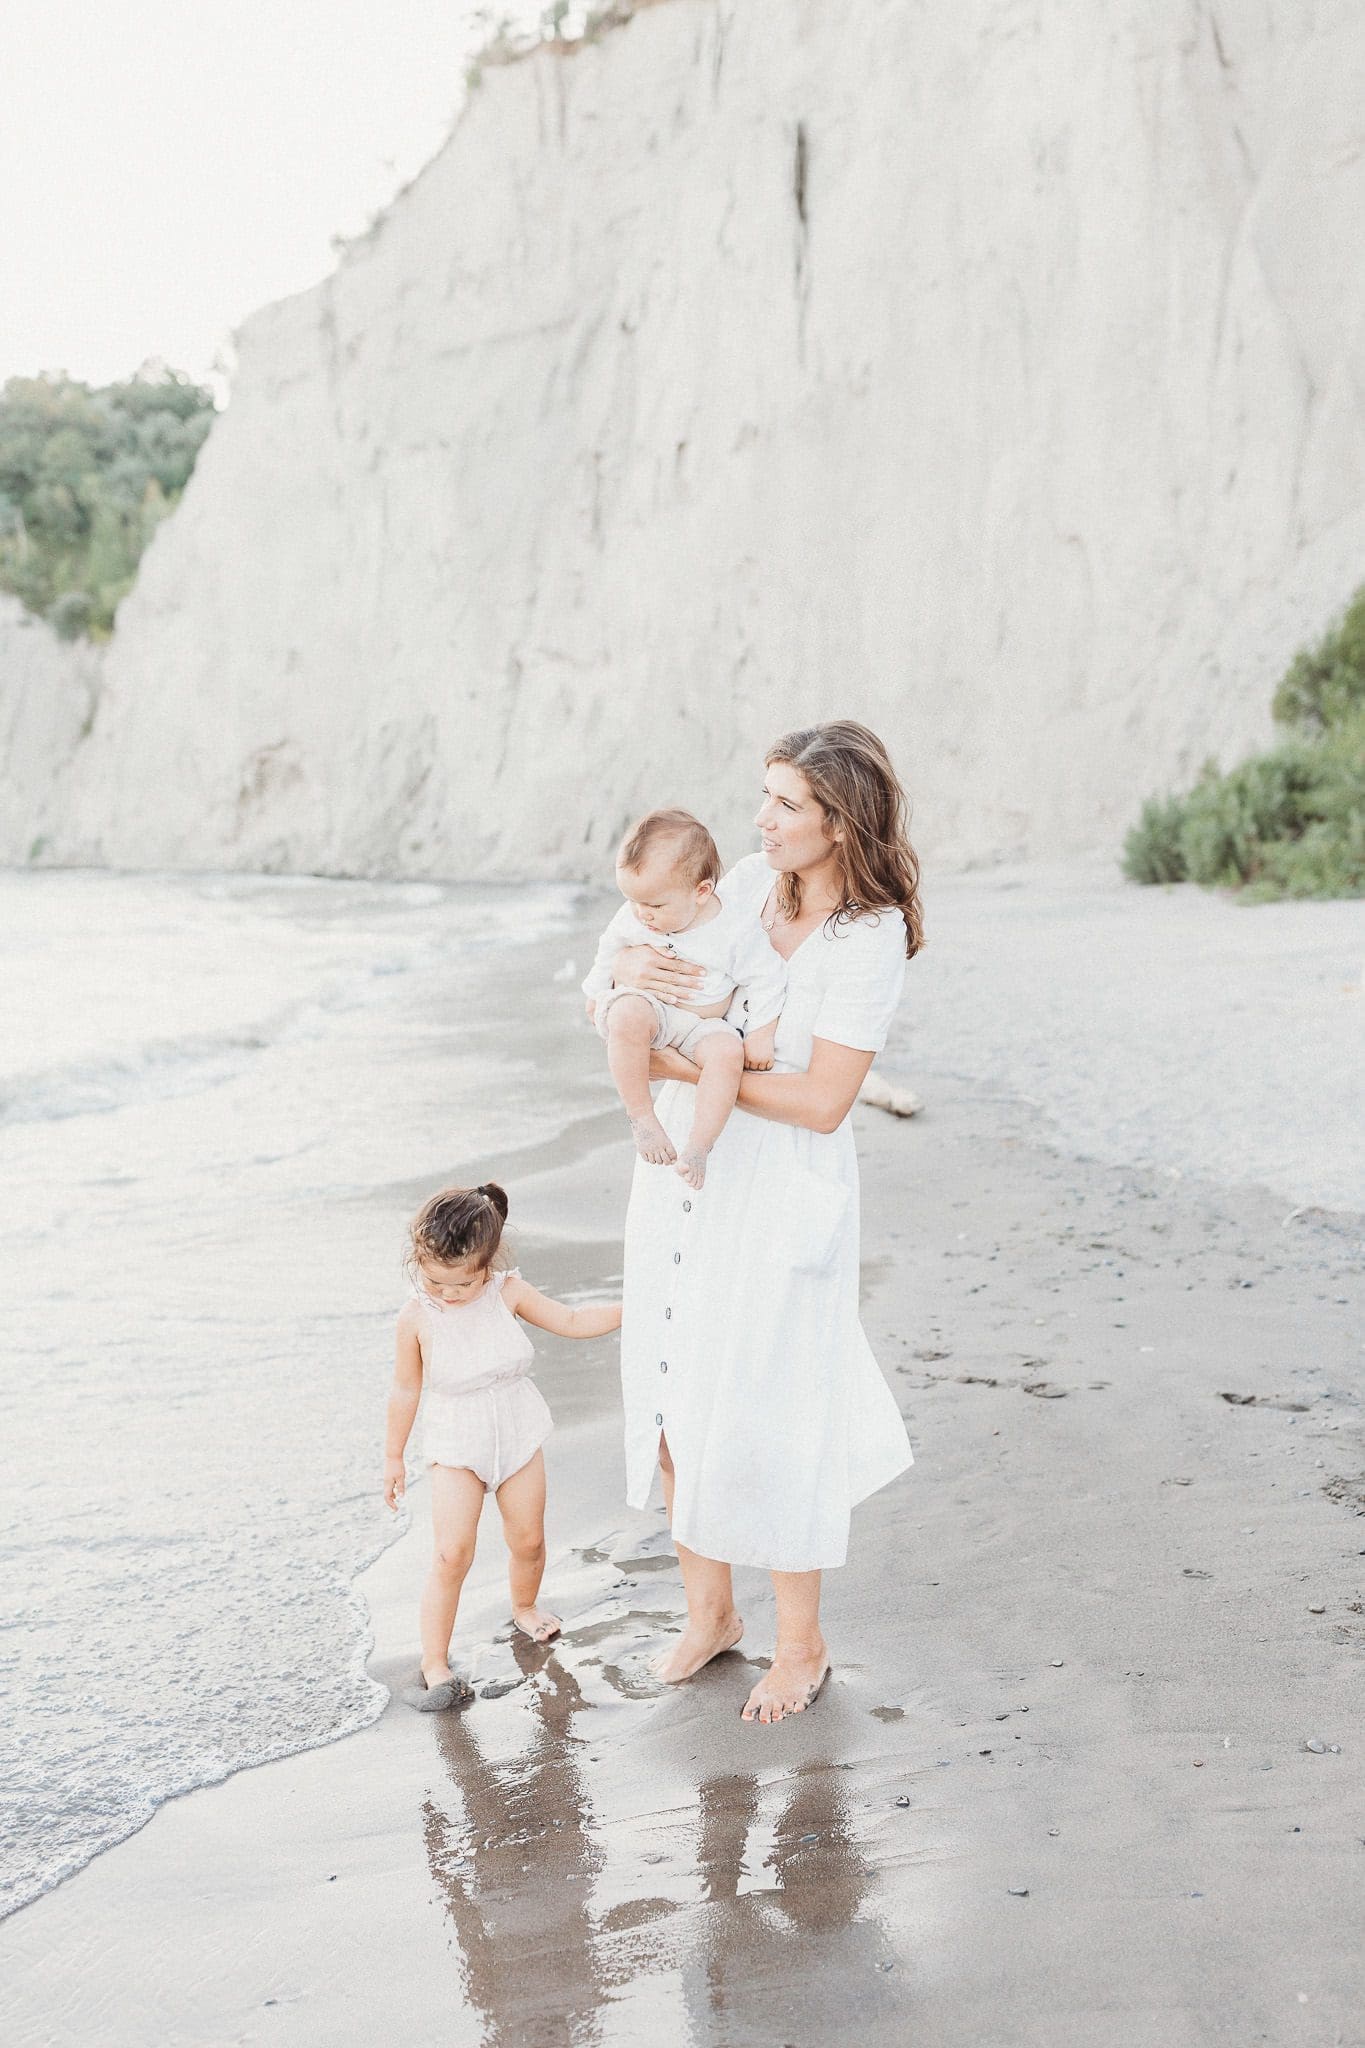
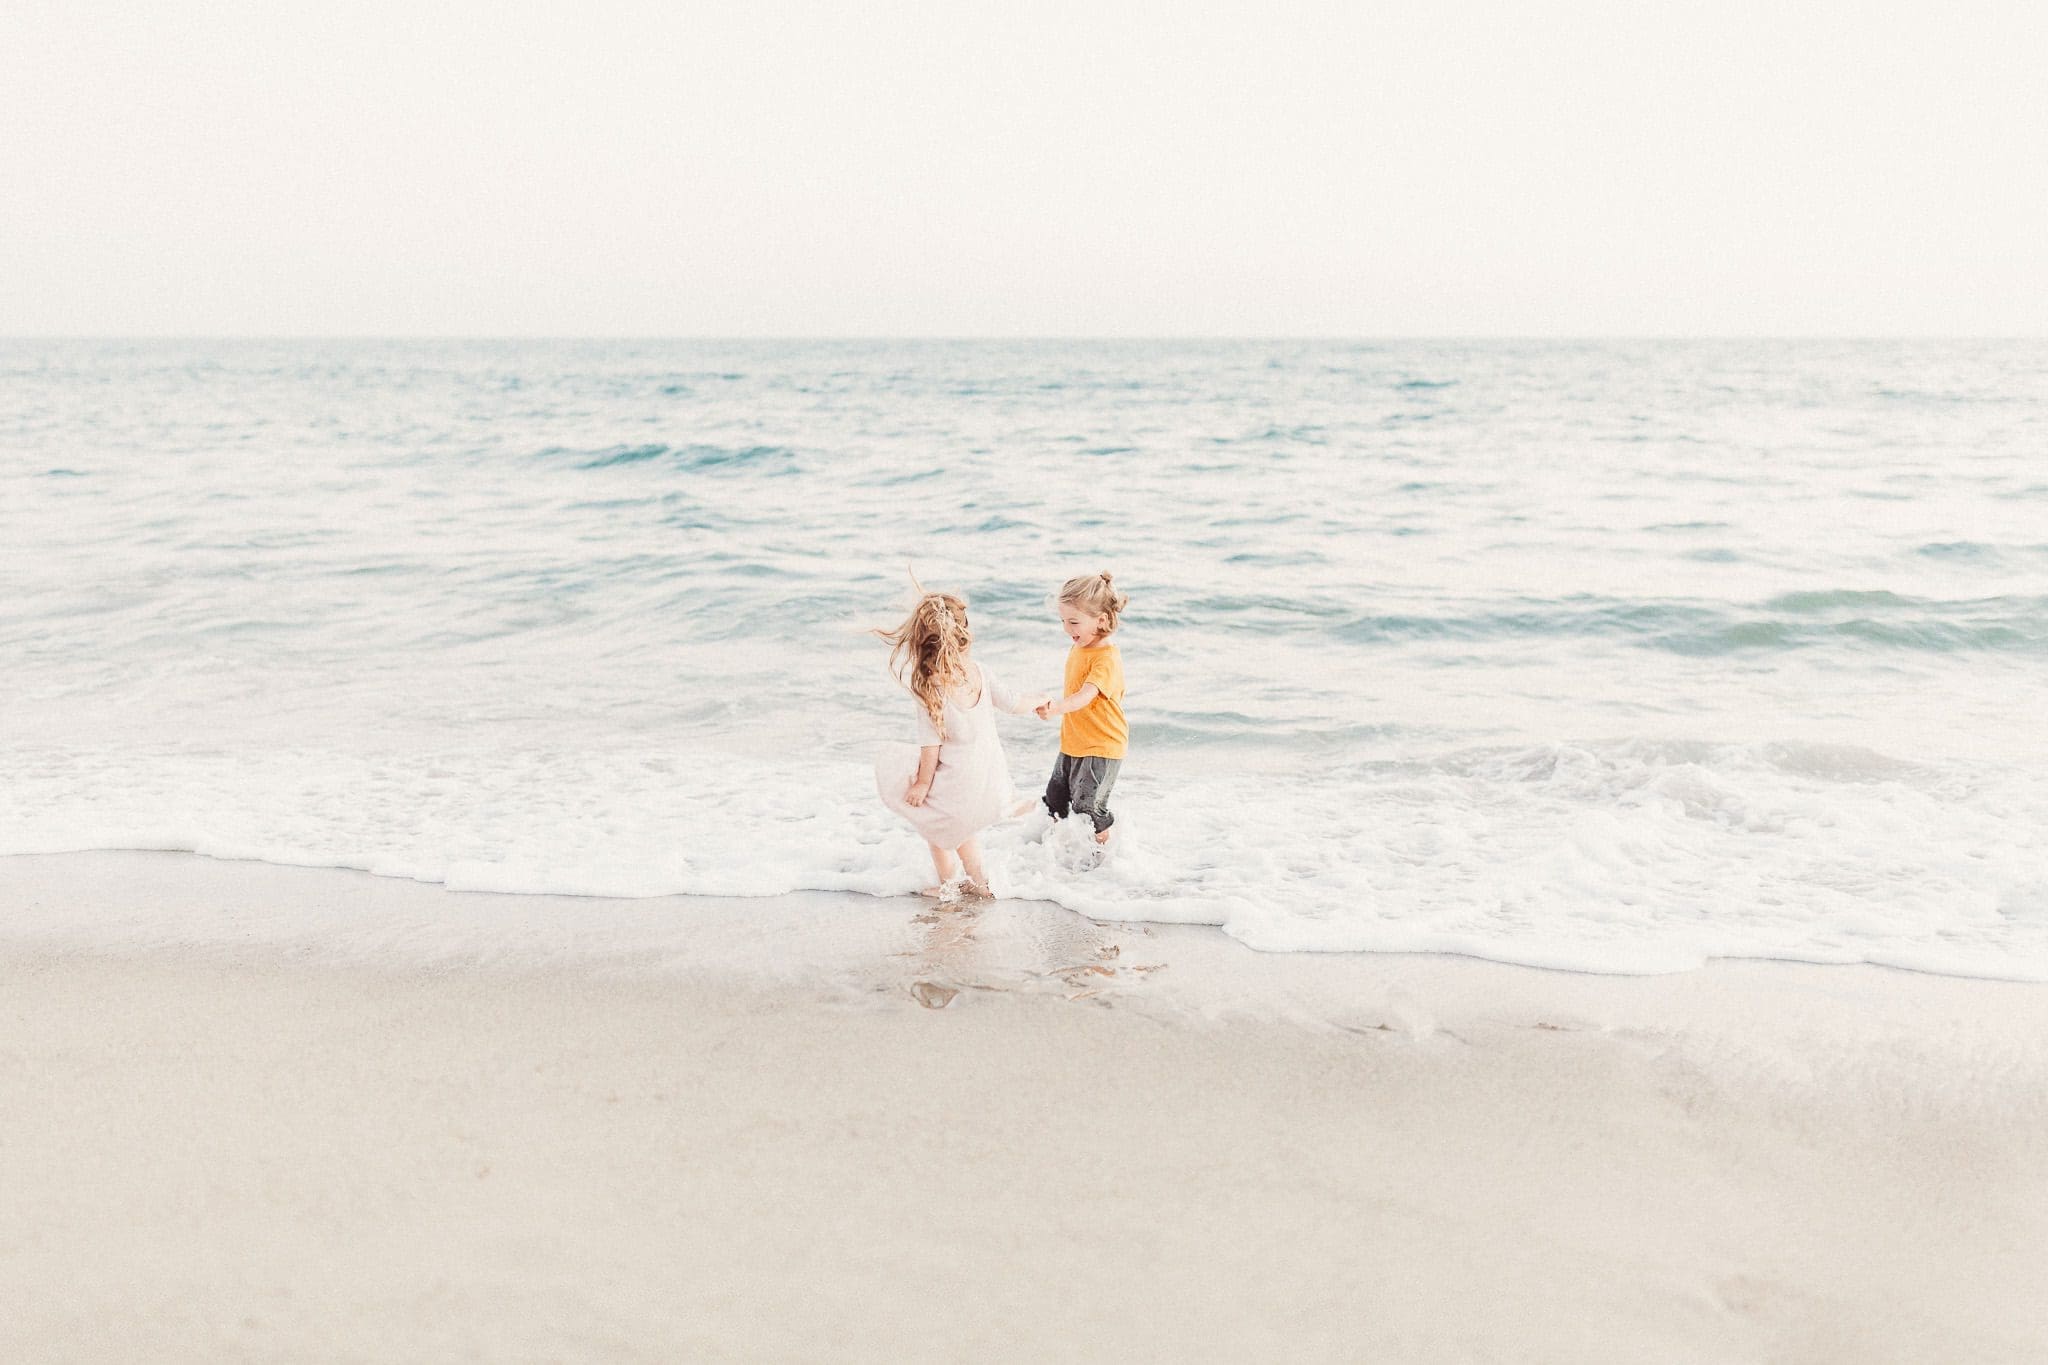
My number one rule: look for light and look for a lot of it. The location of your session – and every single detail that makes the image – lays the groundwork for each image that comes out of your lens. Simply said, you cannot achieve a light and airy aesthetic in a pitch-black room without some intervention and manipulation.
Use natural lighting only
I am a natural-light-only kinda gal – no flashes whatsoever. I don’t even own flashes.
The best way to determine the level of natural light in any space is to turn off the lights and notice what’s left. That’s natural light.
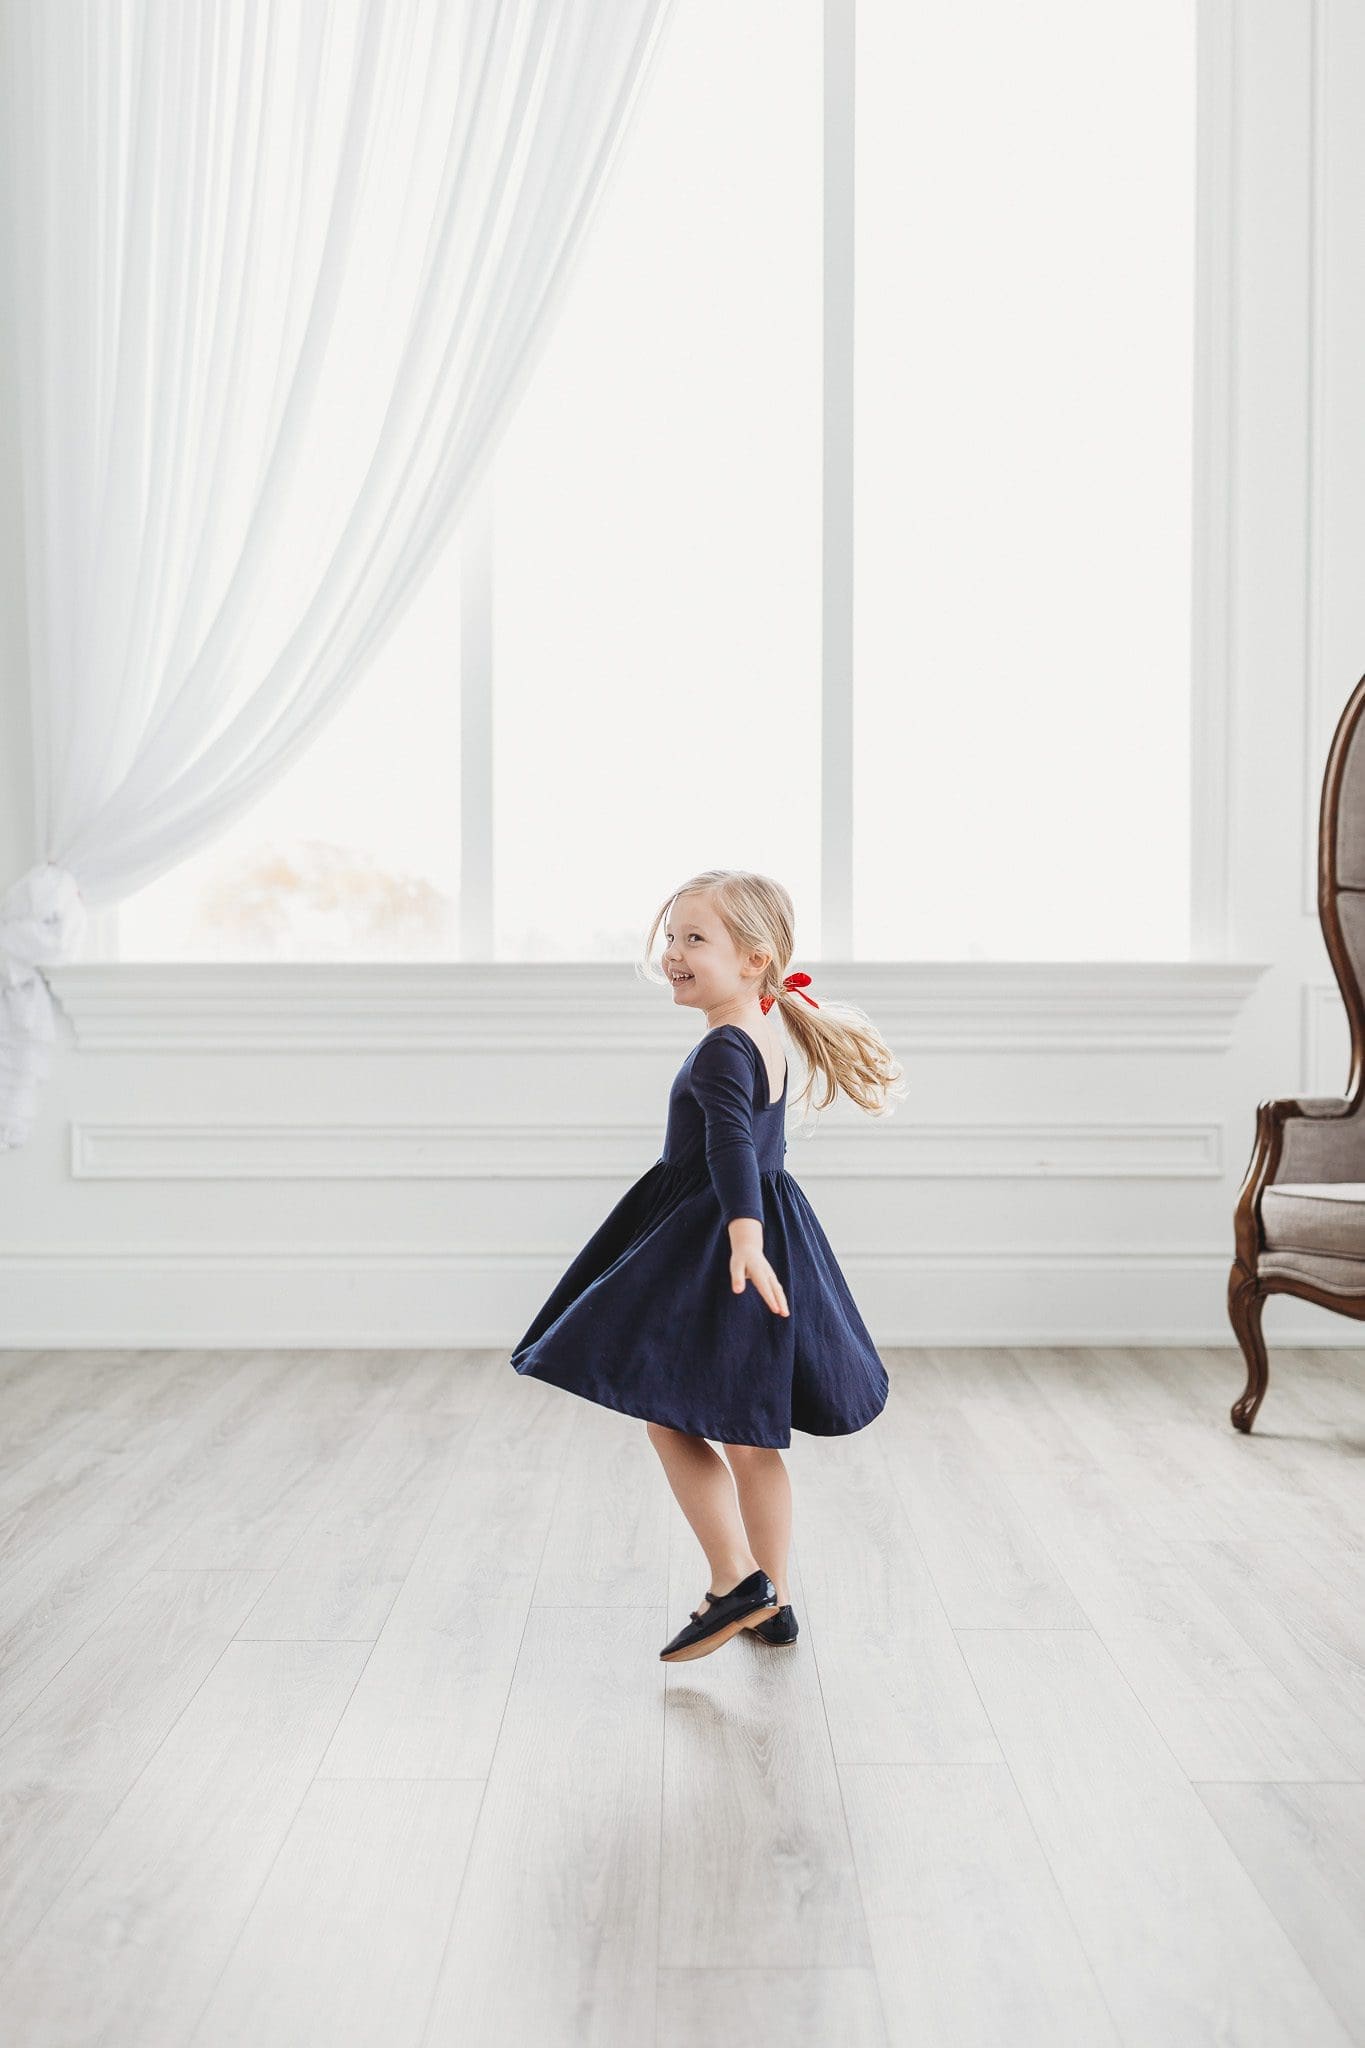
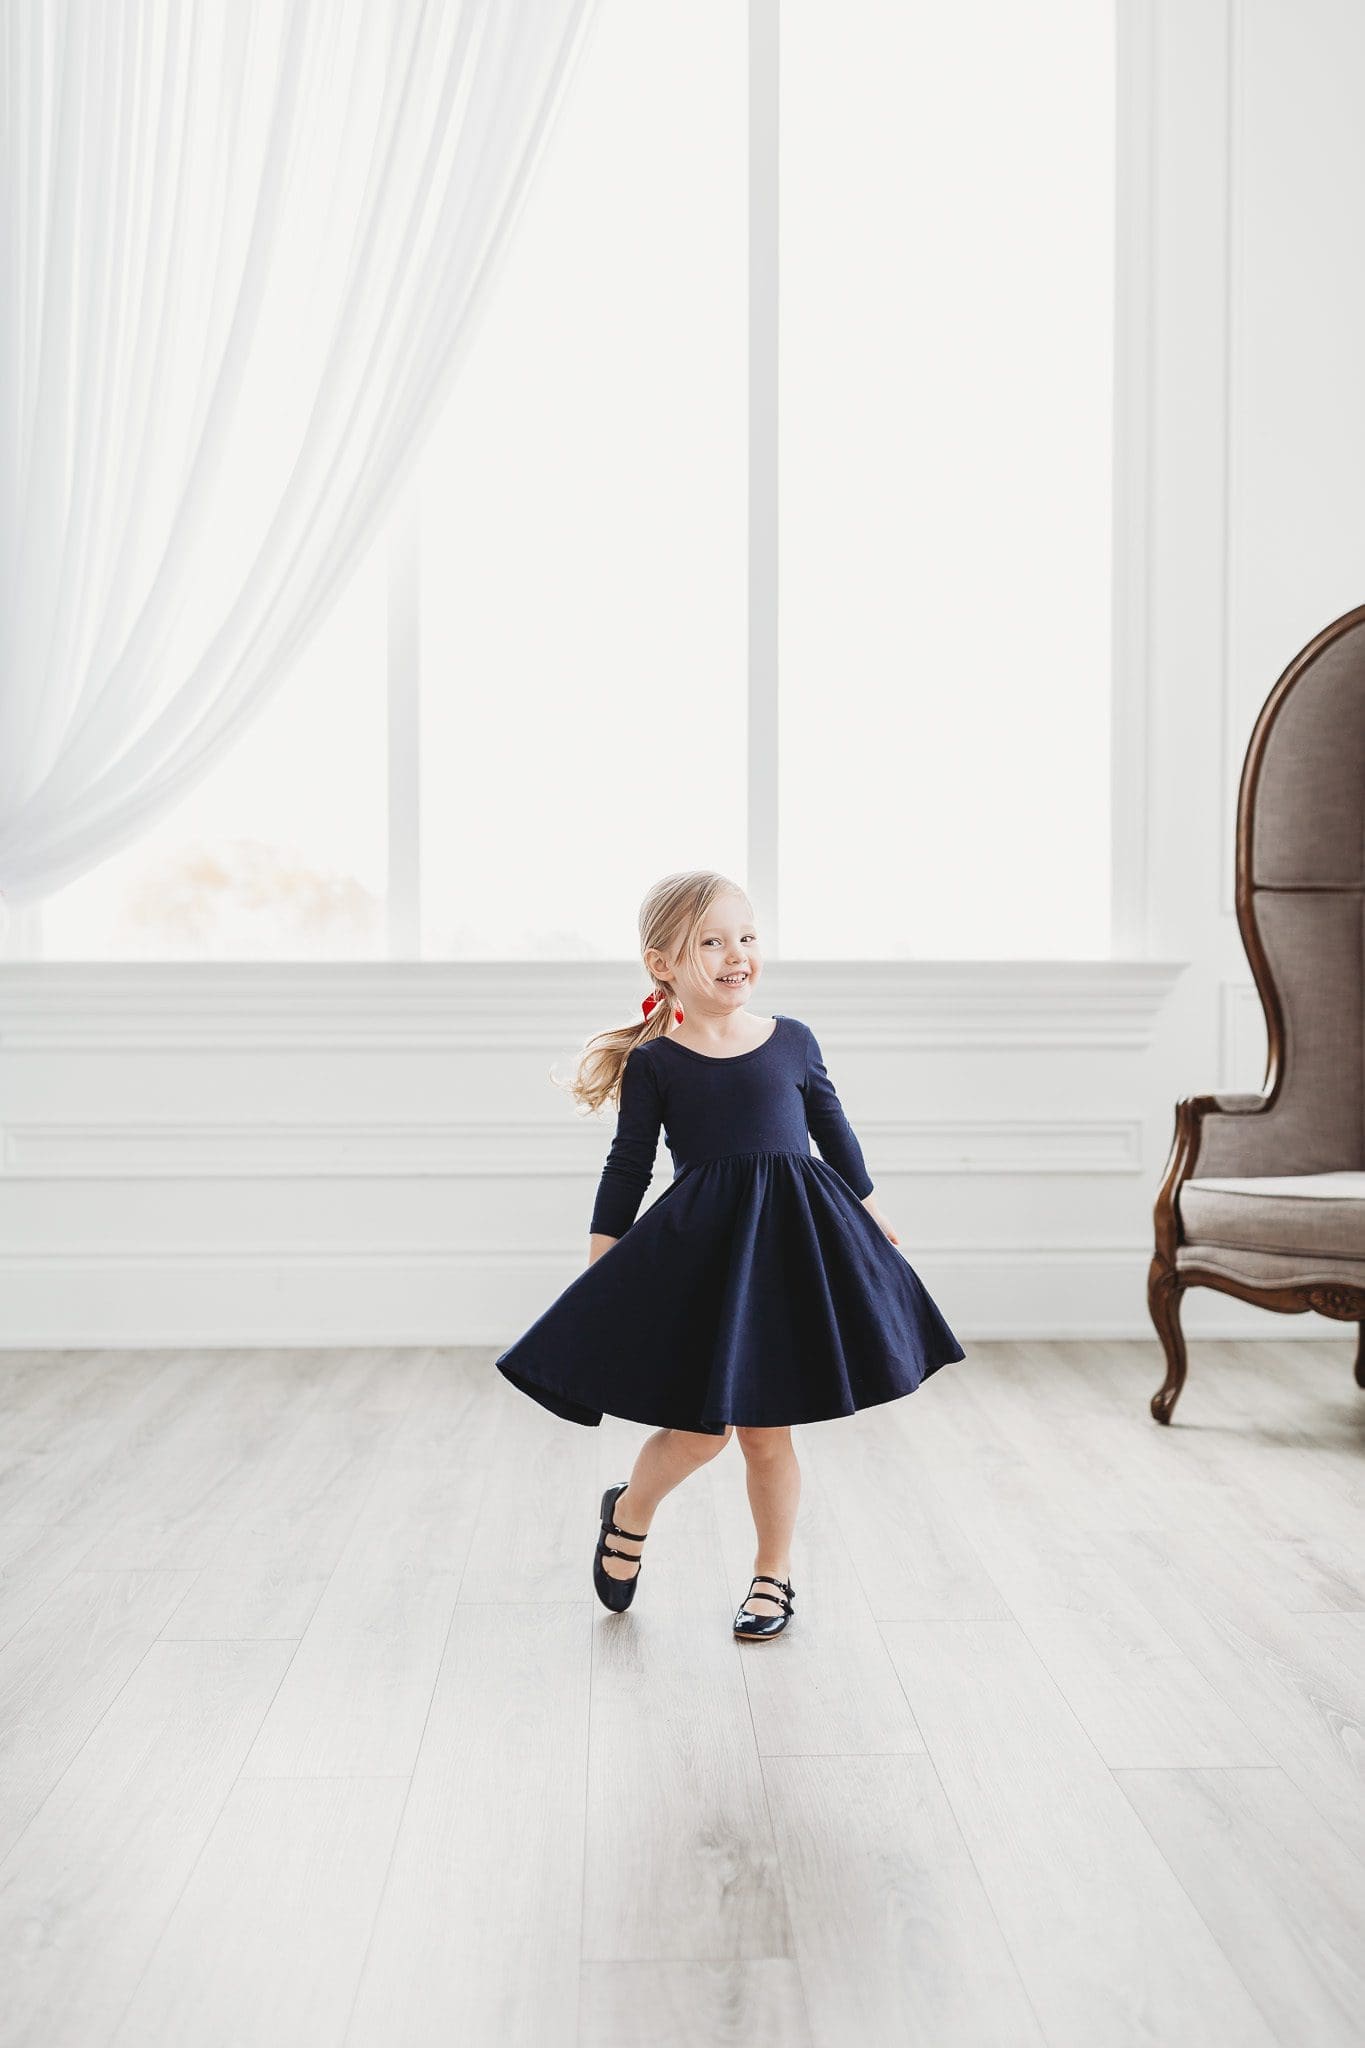
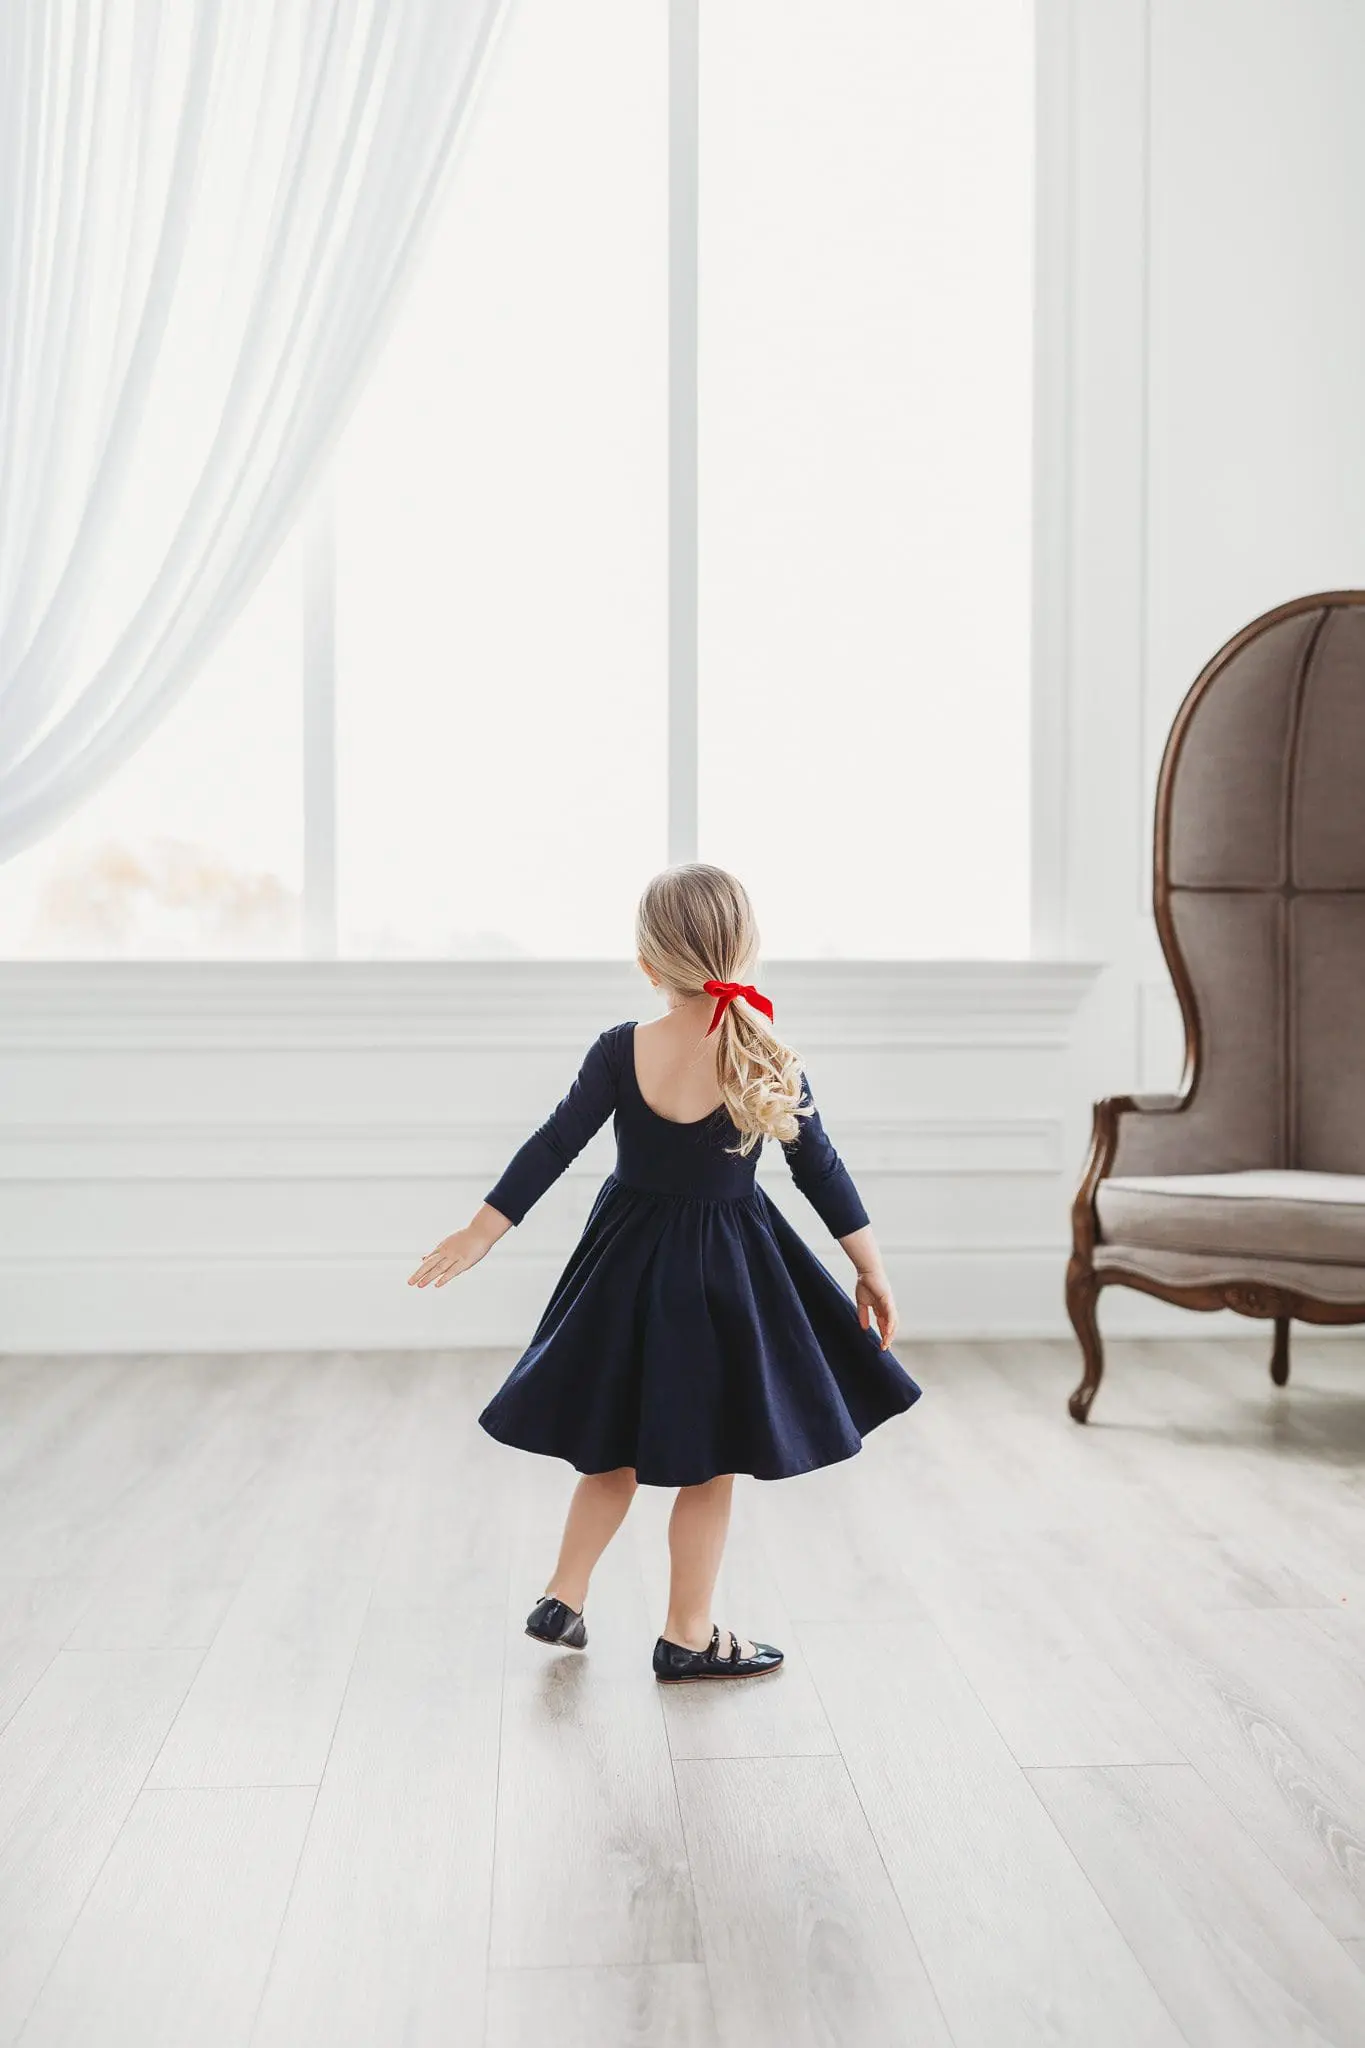
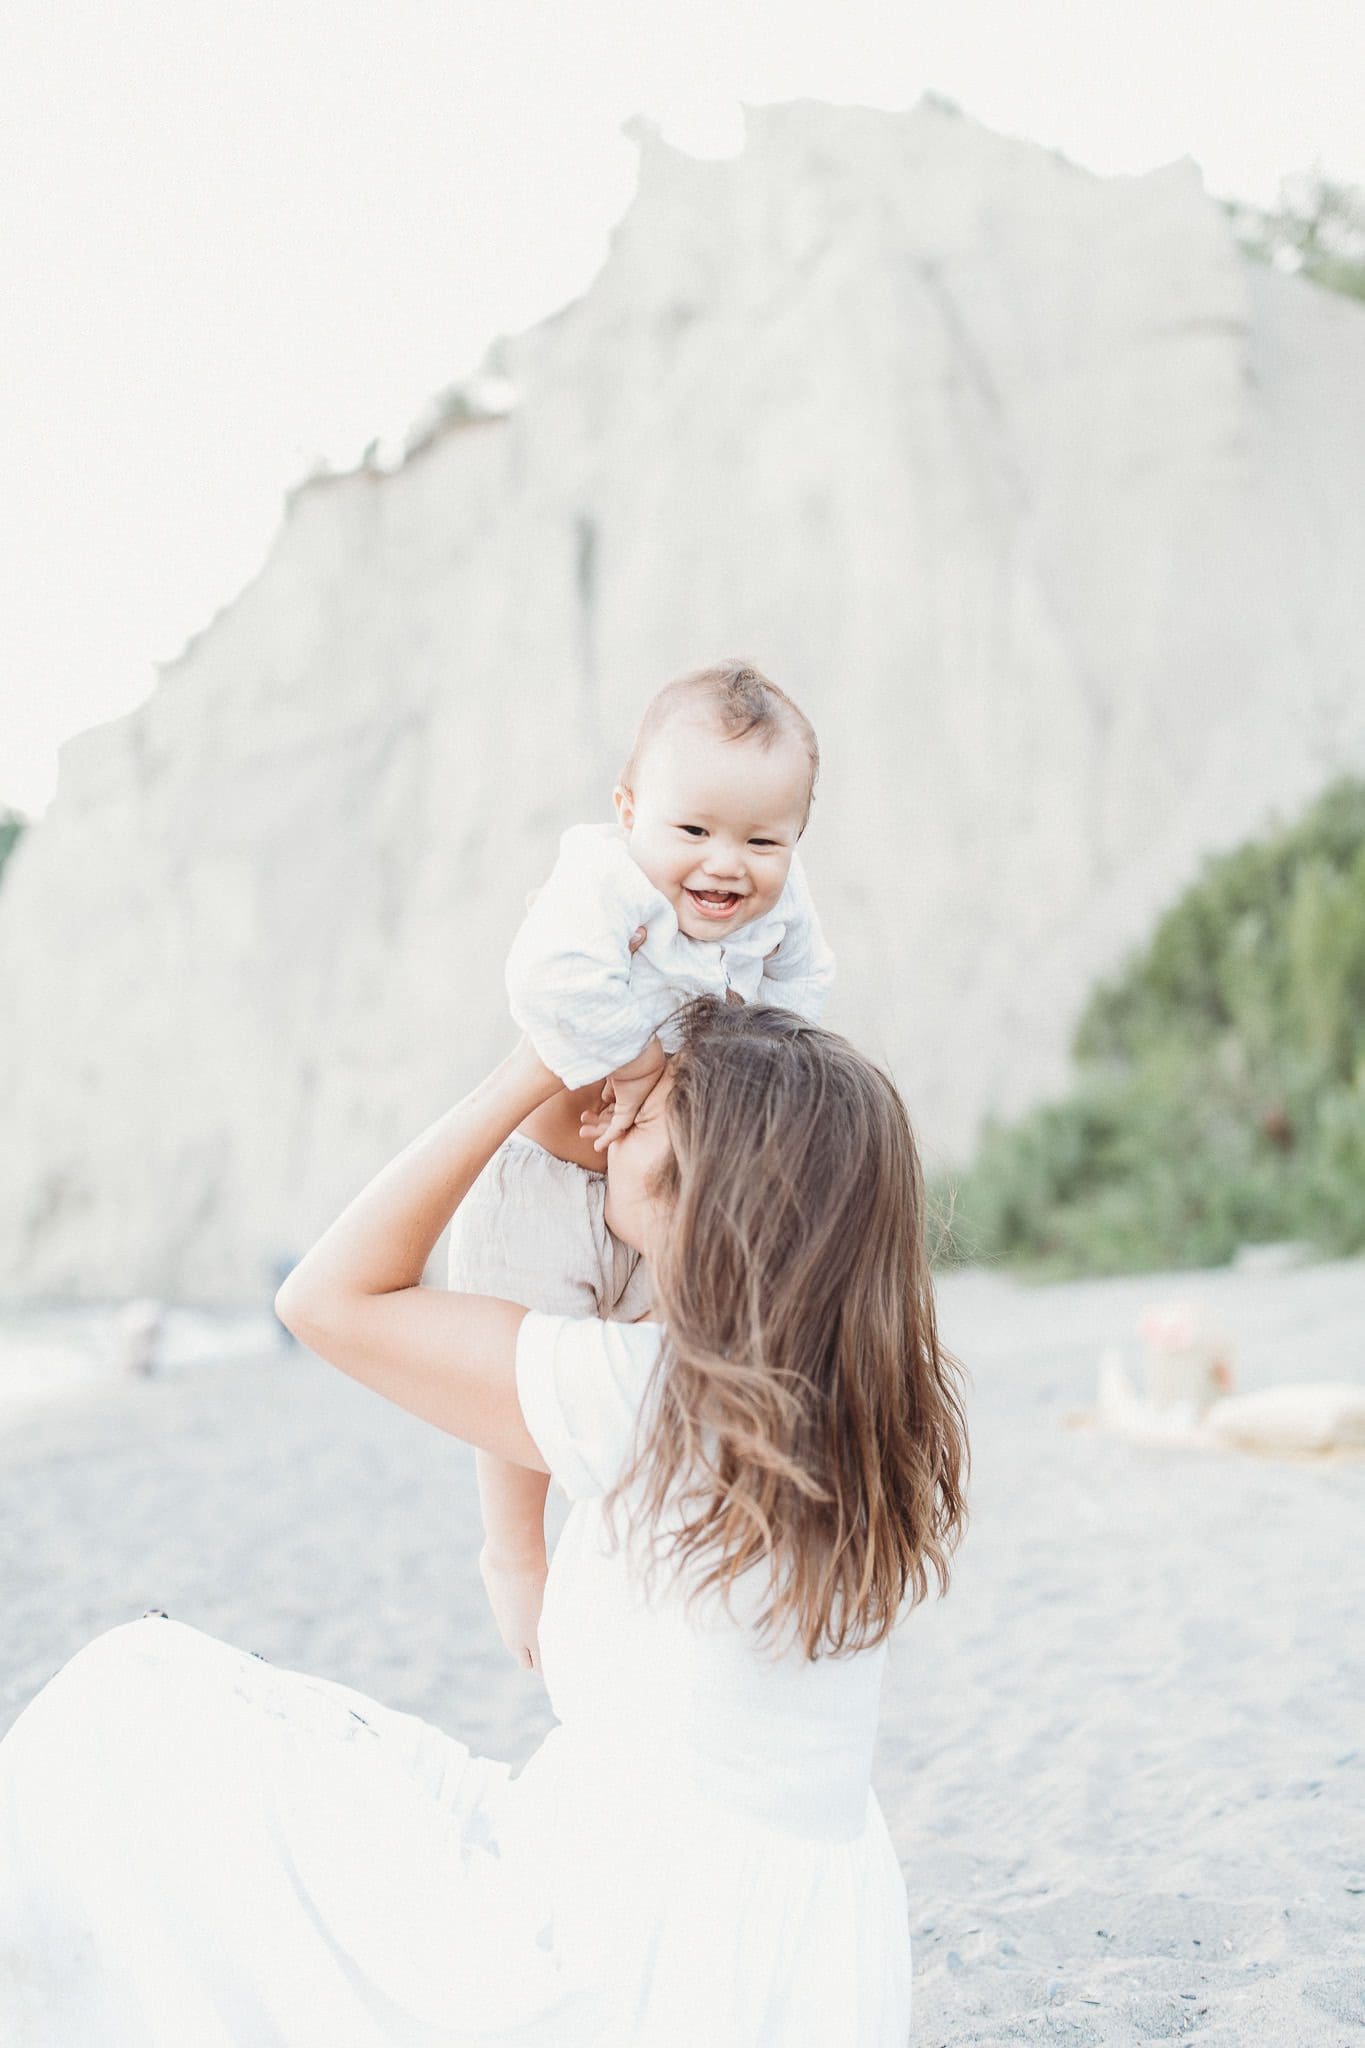
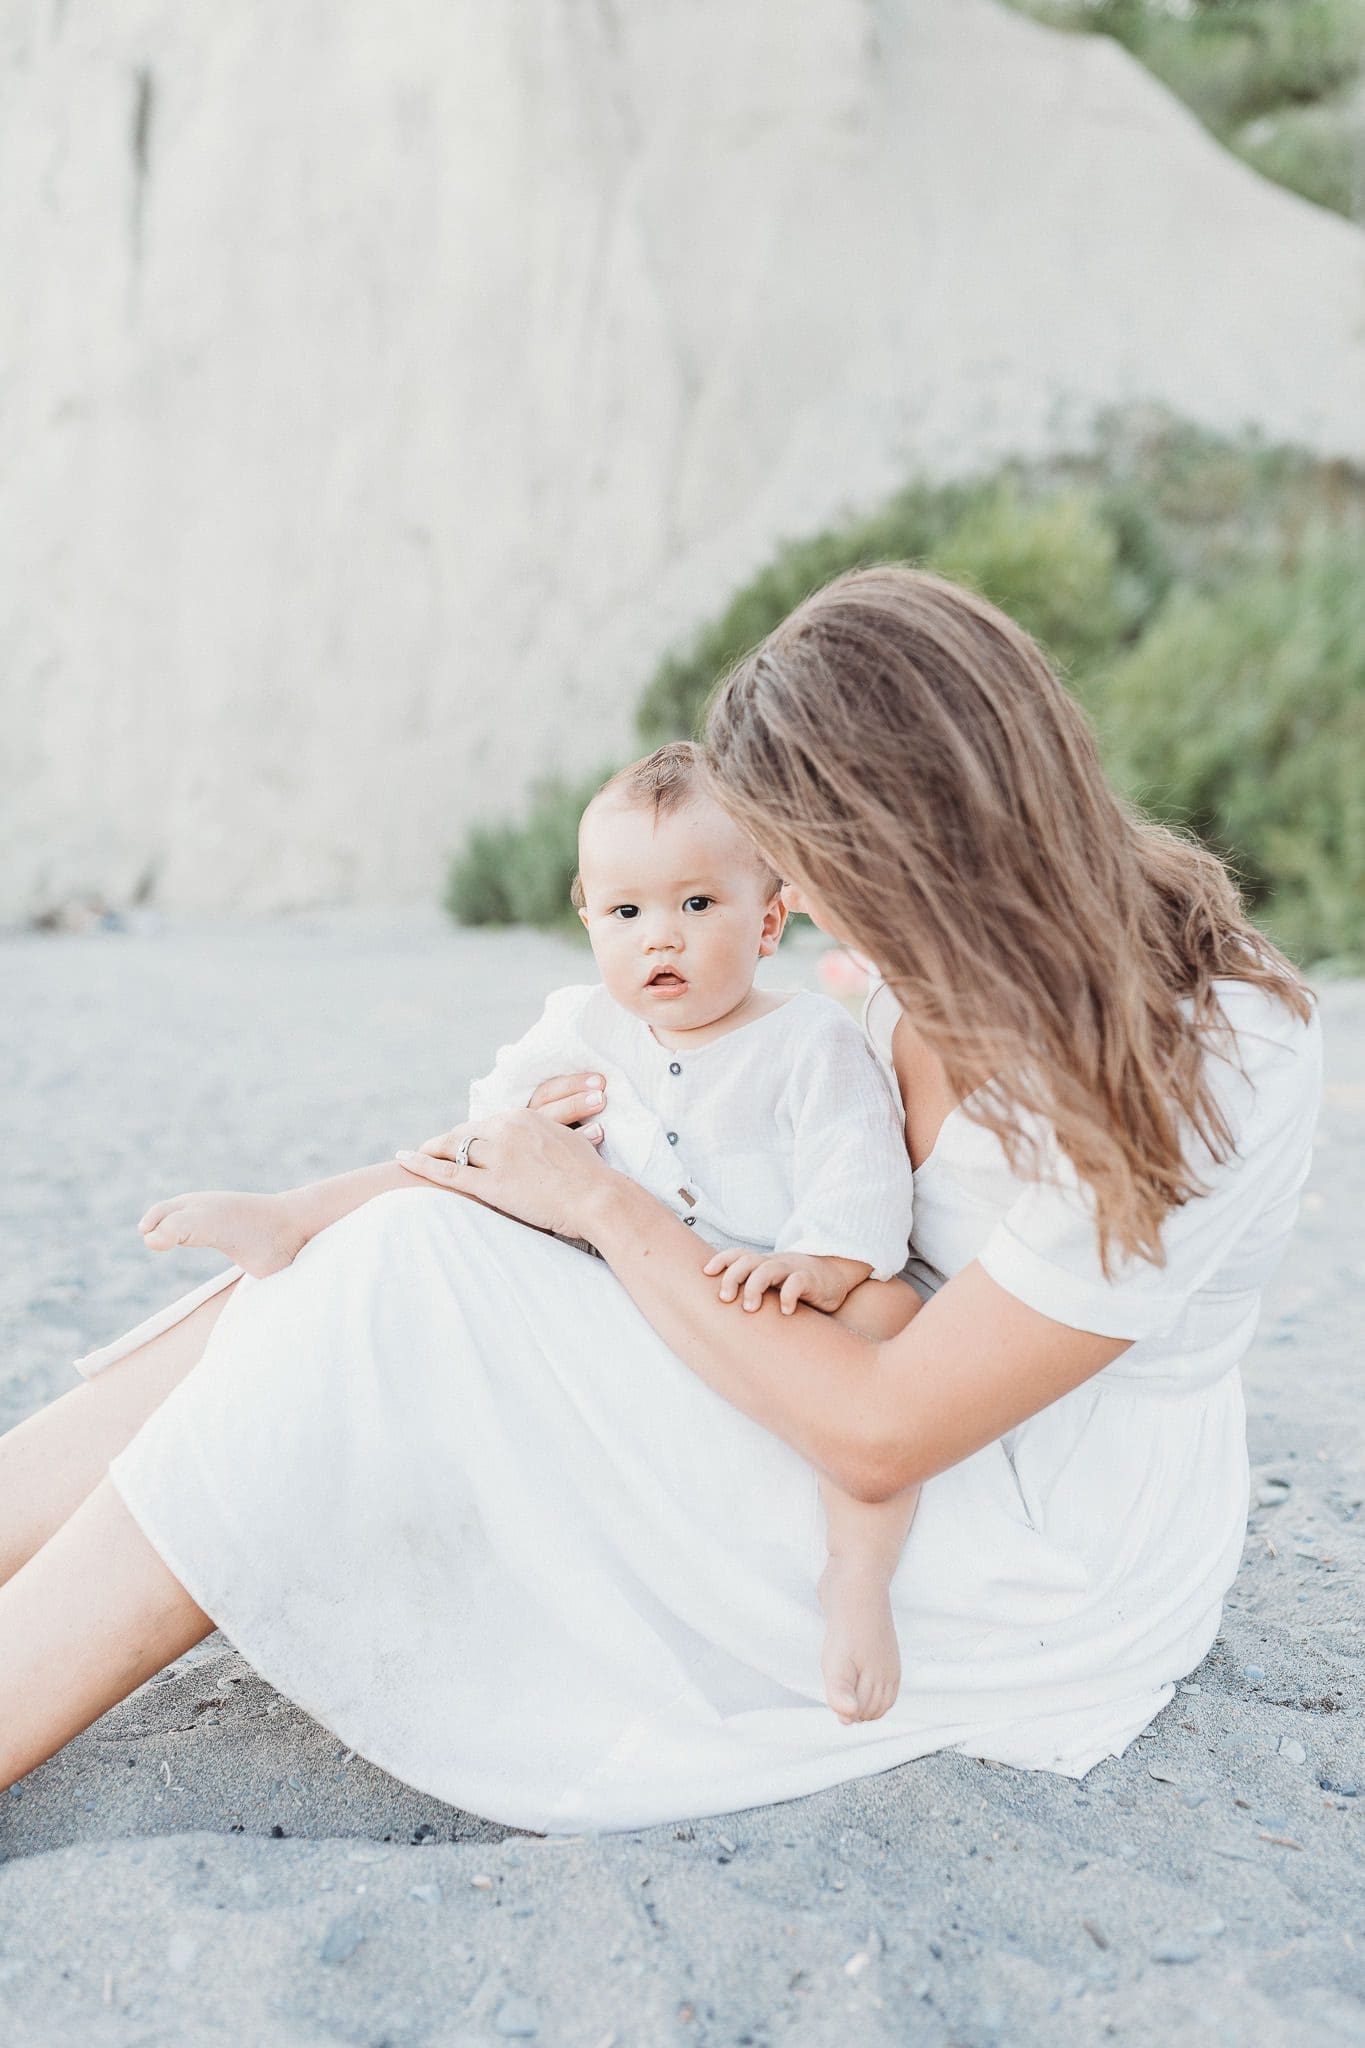
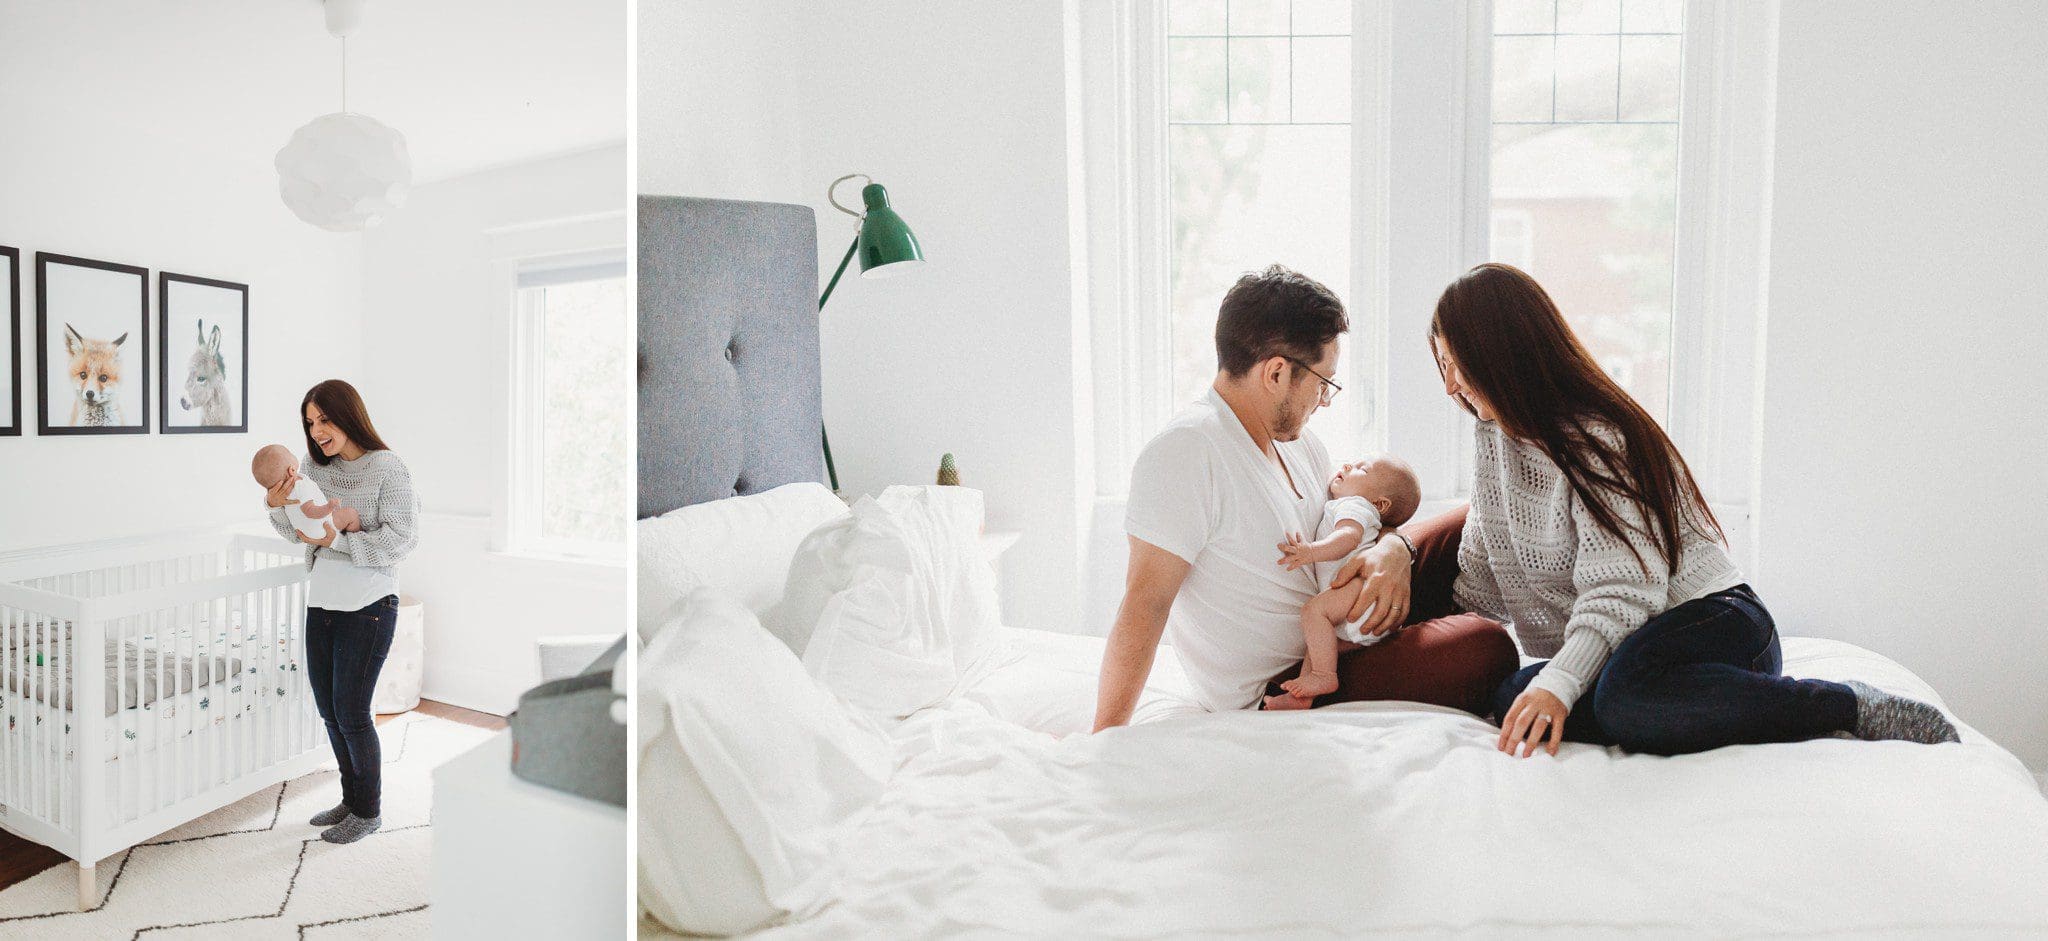
With that said, I am a lover of windows. North face windows are my favourite because the light is not direct and provides a much softer, more diffused light in photos. As well, I often use backlighting in my photos for added effect. This is when I have my subject in front of a window and/or light source to incorporate more natural light. It creates depth and adds almost a glow-like effect to the subject, which I just love.
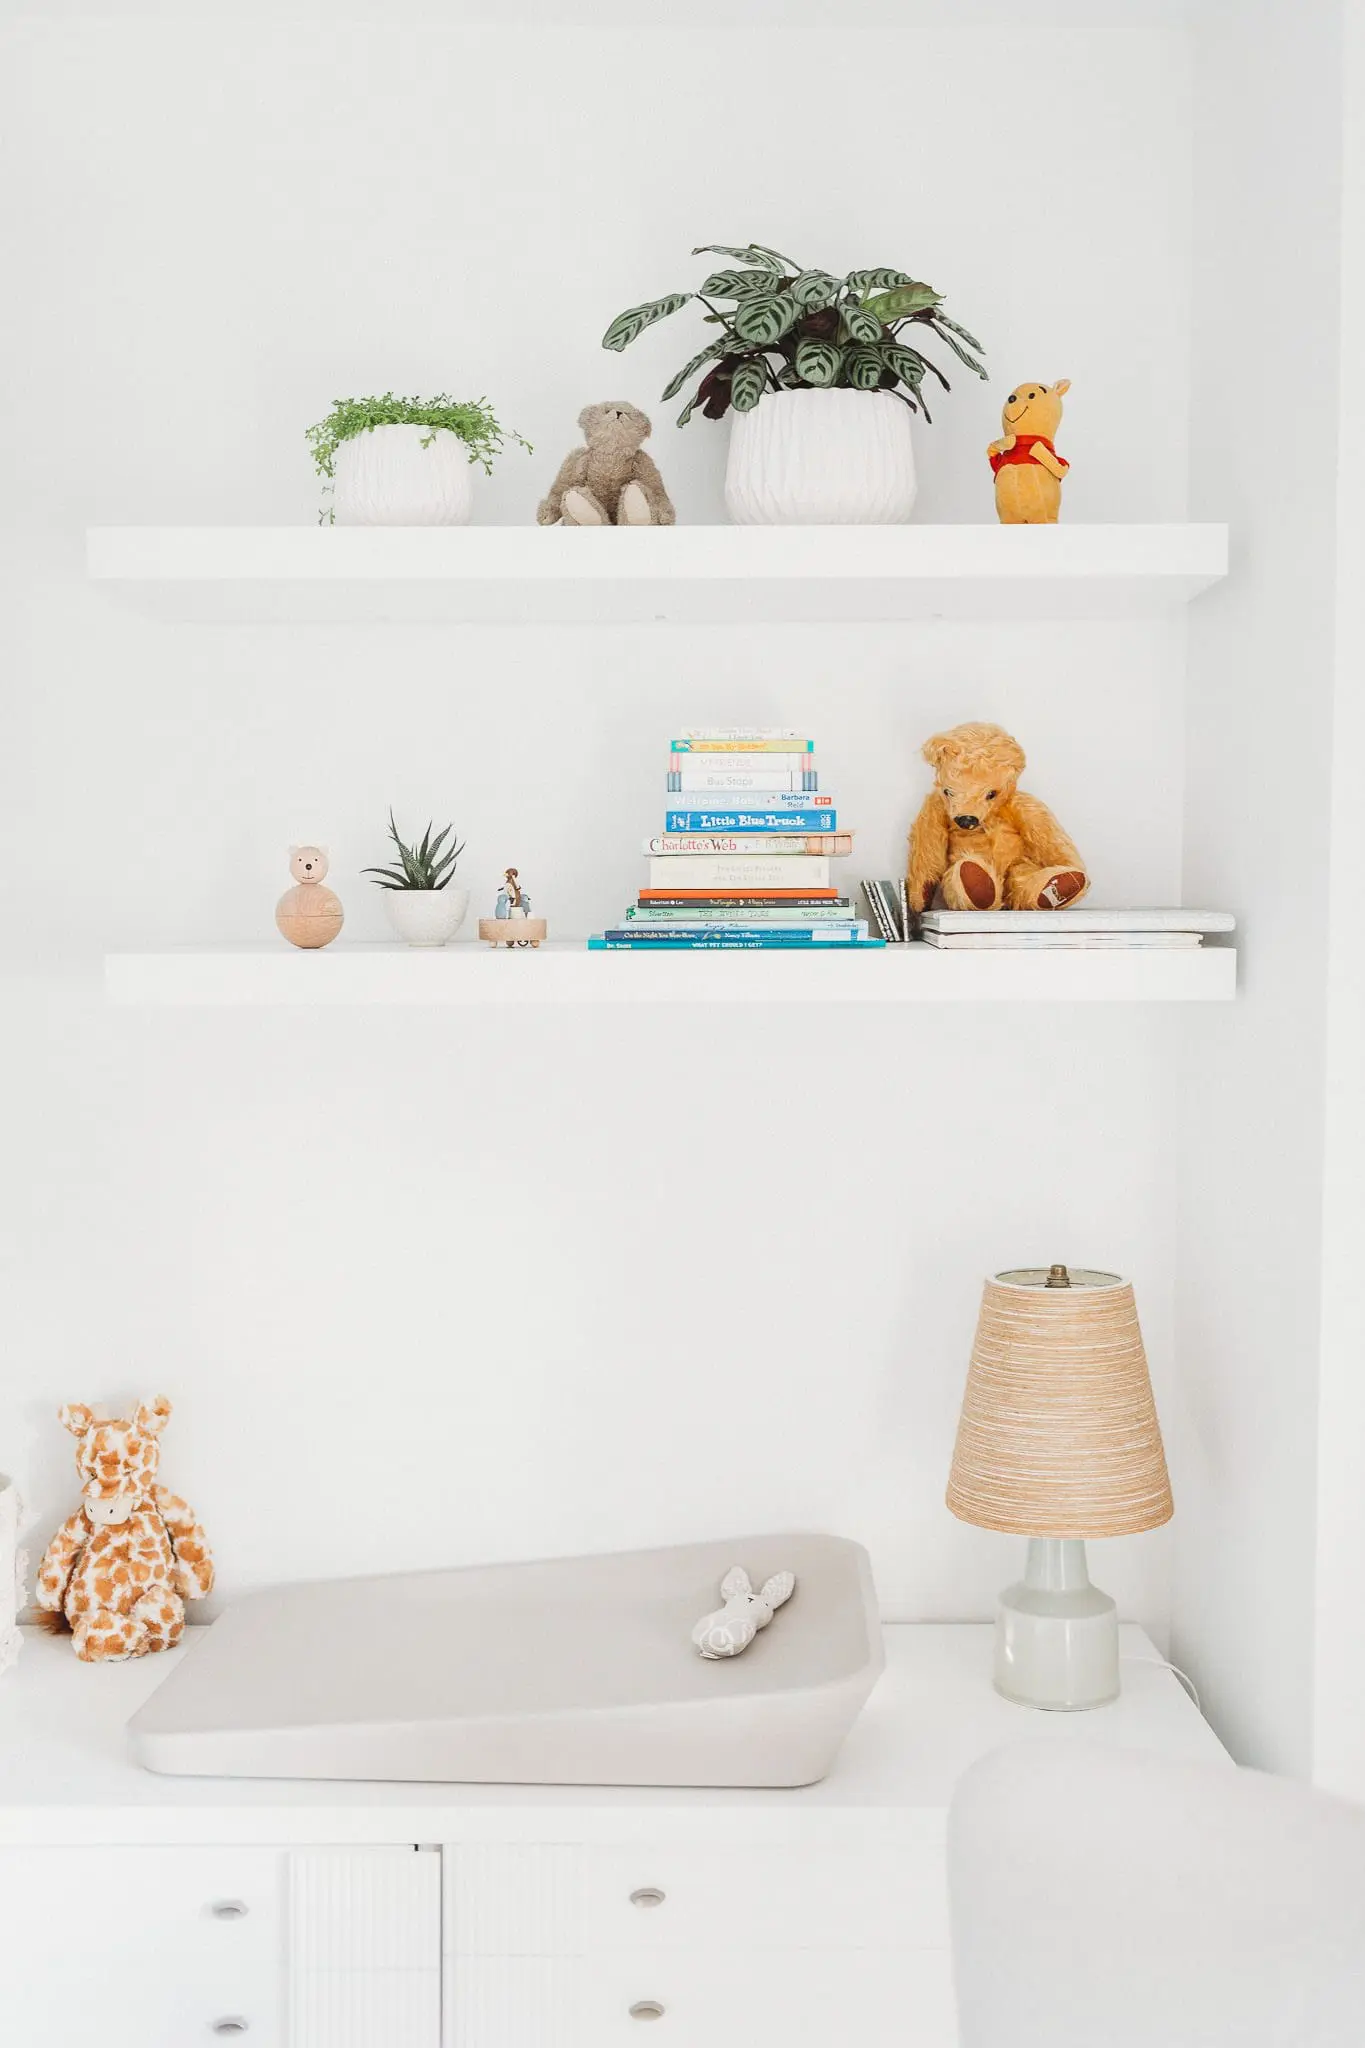
Declutter your surroundings
Being aware of your surroundings is key. While we are not striving for perfection, it’s important to declutter your session setting. If you’re getting photos taken at home, make sure your end tables are tidy, beds are made and mirrors are cleaned. These simple steps can make a world of difference in your photos. The lack of clutter also prevents any distraction and zeroes in on the subject(s) and the connection they exhibit.

Style your clients accordingly
Helping your clients with wardrobe and accessories is one more step you can take as a photographer to bring those images to life. Neutrals are always our friend – creams, beiges, greys, pale blushes are just a few color palettes that can significantly enhance photos and achieve this bright and airy aesthetic.
I always advise clients to stay away from blacks and dark denim. Too much black creates more contrast in photos, which inhibits the light and airy aesthetic we’re going for. Brighter, more neutral-colored clothing on the other hand ALWAYS does the trick. Staying neutral in a bedroom or studio setting keeps the photos simple and soft with more focus on the connection between the subjects.
Get it right in the camera
It’s important to get as spot on with your camera as possible. This makes the entire editing process that much easier and preserves the authenticity in every shot. Just like you can’t turn a blurry photo into a sharp photo, you can’t transform a dark, super underexposed image into something light and airy. In simple terms, you can’t
shoot a session in a dark room with bad lighting and expect the editing process to achieve a white and airy look.
With my camera, I keep my aperture anywhere from f/1.4 to f/2.2. Keep in mind that this can be risky, especially when the subjects are moving children. This aperture also invites the most light into your camera. I often get asked whether I underexpose or overexpose when I’m shooting. The truth is, I don’t do either! Instead, I try to get that exposure spot-on in the camera.
I am one for auto white balance. While I’ve played with Kelvin a little, I find it much easier to use auto and adjust in post-production. Getting it right in the camera will save you loads of stress during the editing process.
Post-processing adjustments to consider
I edit all my images in Lightroom. It provides everything I need to get the photos exactly how I want. I always start out by using SMAL presets. They are my go-to and give the consistency and gorgeous tones for a clean and timeless feel. These presets are created by Sven Malojlo.
Once I apply these presets, I go in and tweak. White balance is always first. When the white balance off, everything gets thrown off. After white balance is adjusted, I’ll make any other exposure adjustments as needed. For instance, increasing shadows and lifting the blacks ever so slightly always helps to enhance that light and airy feel.
Nicole Lewis | Nicole Lewis Photography
FACEBOOK GROUP
Join our FREE Facebook Community full of kind and uplifting Creatives.
In our Community you´ll get free Education, Tips and Tricks around the use of our Presets. You can see Live Edits and attend Q&As. We also share the newest Releases and Informations in there. We talk about all things Photography and everyone is welcome. From beginners to professionals we all root for each other and help each other wherever we can!